Alhamdulillah. My earlier 26ai installs in the home lab were all silent installs with a response file. This time I wanted to walk through the graphical installer, so I added a second Oracle Home on the same VM, software only. The VM already runs CDB26 as a Data Guard primary, so the goal was to add the home without touching the existing database. Hostnames and IP addresses are masked.
Lab environment
| Host | labhost26, Oracle Linux 9 on VirtualBox |
| Existing home | /u01/app/oracle/product/26ai/dbhome_1 (CDB26, Data Guard primary) |
| New home | /u01/app/oracle/product/23.26.1/dbhome_gui |
| Release | Oracle AI Database 26ai EE 23.26.1 |
| SSH / X client | MobaXterm (built-in X server) |
Step 1: Get X11 working first
PuTTY on its own cannot show GUI windows. MobaXterm has an X server built in and forwards X11 over SSH by default, so I logged in directly as oracle from MobaXterm and checked the display before starting anything:
echo $DISPLAYxdpyinfo | head -3
localhost:10.0name of display: localhost:10.0version number: 11.0vendor string: Moba/X
Logging in as one user and then running su - oracle usually breaks X forwarding, because the X authority belongs to the first user.
Step 2: Unzip and start the installer
Since 18c the database software is an image: you unzip it straight into the directory that becomes the Oracle Home, and run the installer from there. Clearing the environment of the existing home first avoids picking up the wrong settings:
cd /u01/app/oracle/product/23.26.1/dbhome_guiunset ORACLE_HOME ORACLE_SID TNS_ADMINexport ORACLE_BASE=/u01/app/oracle./runInstaller
Nothing showed up for a while, and I pressed Ctrl+C twice thinking it was stuck. It was not. A ps -ef from a second session showed the installer’s Java process (oracle.install.ivw.db.driver.DBConfigWizard) running, and after a minute or so the splash screen appeared, followed by the wizard. The first window was blank until it finished loading. Over X forwarding, patience is part of the process.
Step 3: Walk through the wizard
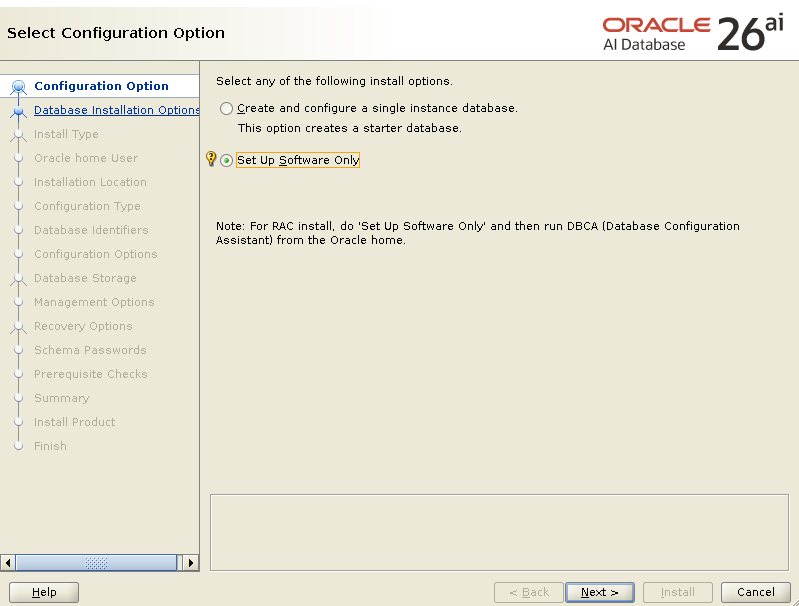
Configuration Option: the default is to create a starter database. I chose Set Up Software Only. A second database on this VM would compete for memory with CDB26 and bring in another listener next to the Data Guard one. If a database is needed later, DBCA from the new home can create it.
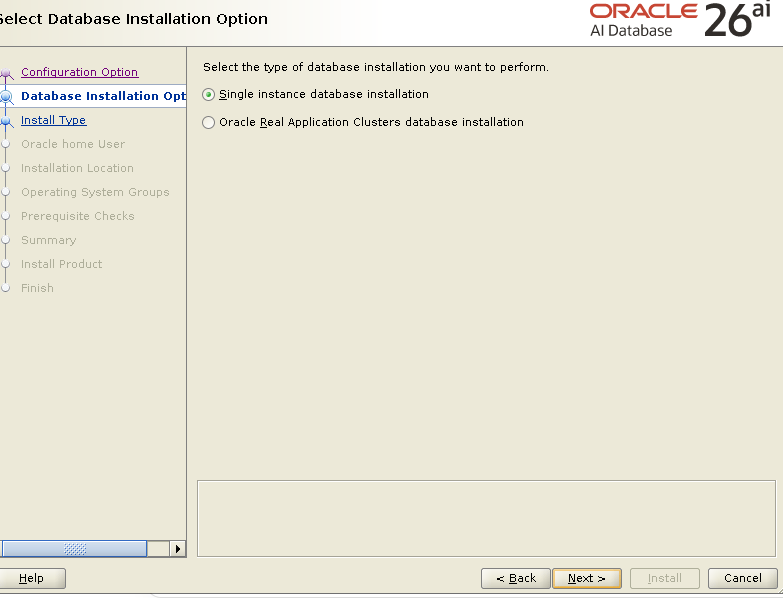
Database Installation Option: single instance.
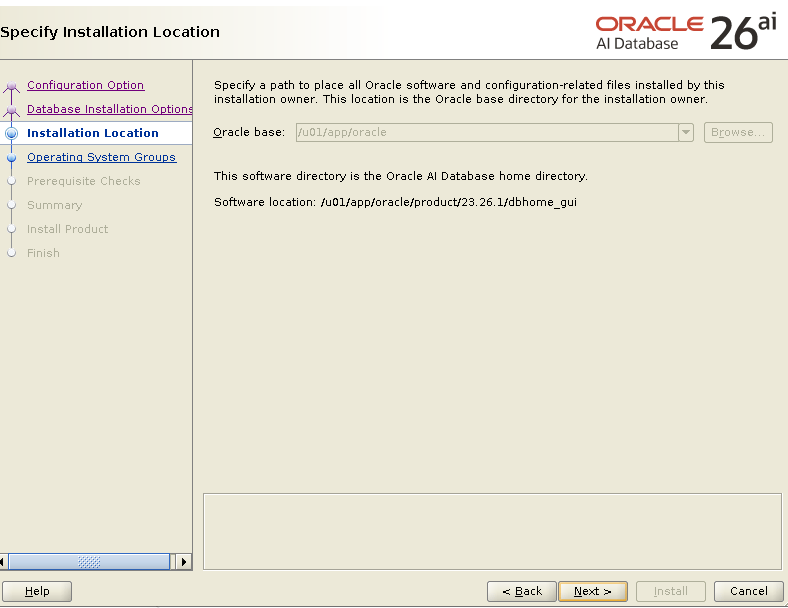
Installation Location: the Oracle base field is greyed out. With an image-based install the home is wherever you unzipped, and since this owner already has /u01/app/oracle as its base for the first home, the installer keeps it. There was also no edition screen; 26ai comes as one edition here.
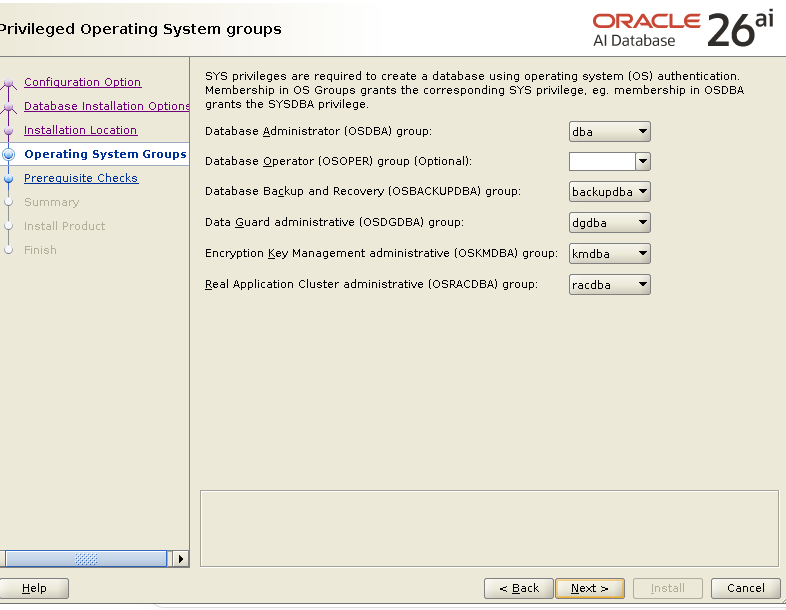
Operating System Groups: the standard set, dba, backupdba, dgdba, kmdba and racdba, with OSOPER left empty.
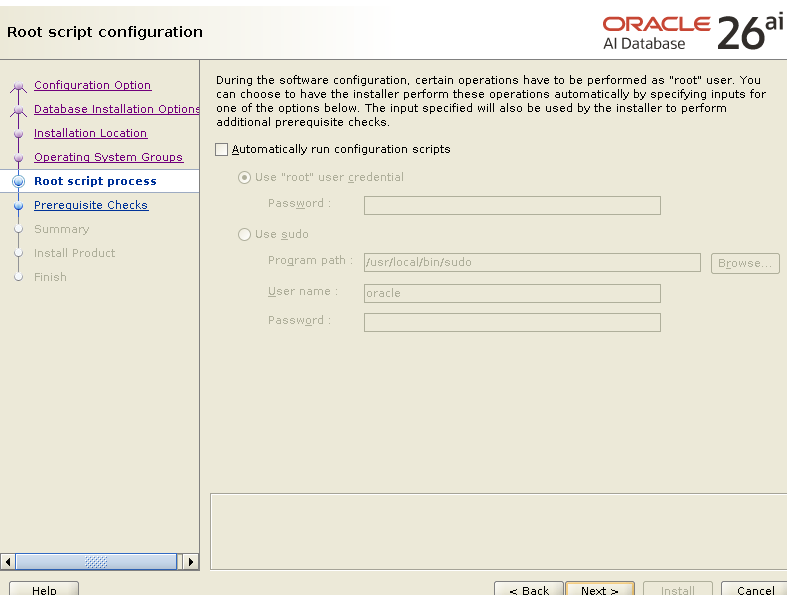
Root script configuration: I left “Automatically run configuration scripts” unchecked and ran root.sh myself, so the root password never goes into the installer.
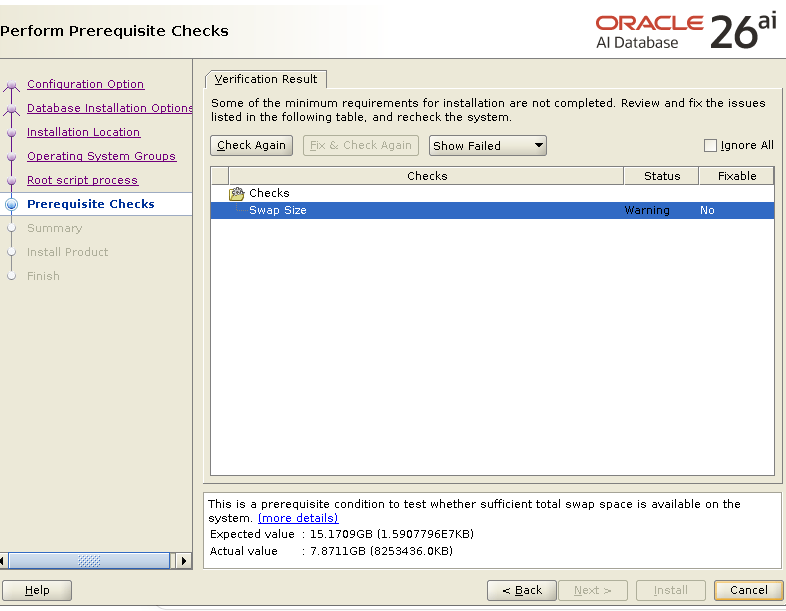
Prerequisite Checks: one warning, swap size. The installer expects swap equal to RAM, about 15 GB, and the VM has about 7.9 GB. For a lab VM where CDB26 already runs fine on this swap, I ticked Ignore All and continued.
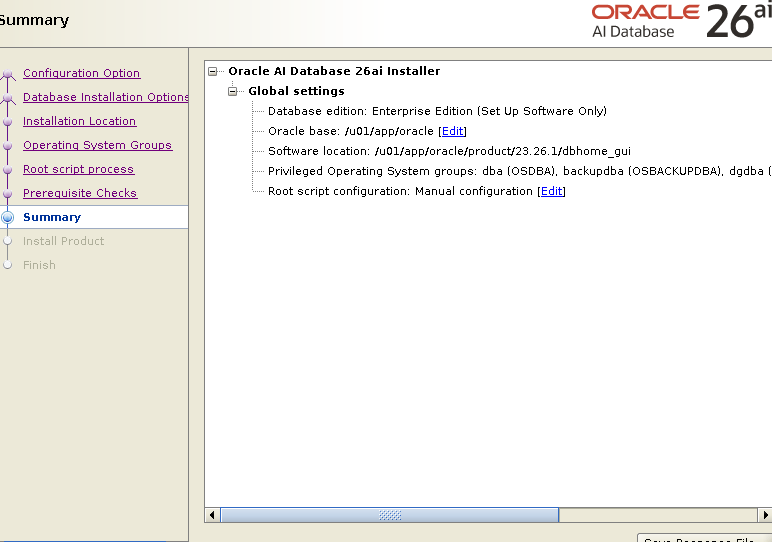
Summary: Enterprise Edition, software only, the new home location, and manual root scripts. The Save Response File button here is useful if you want to repeat the same install silently later.
Step 4: root.sh
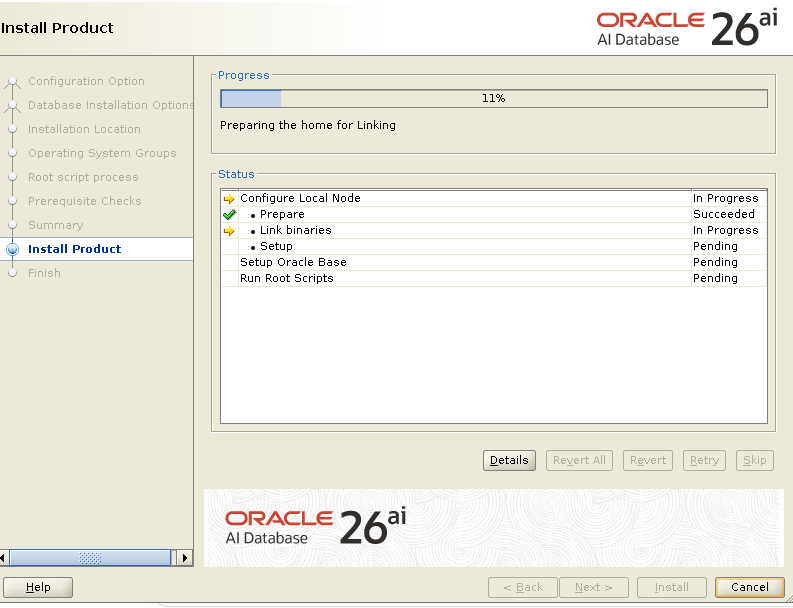
Near the end the installer asked for one script only. orainstRoot.sh was not needed because the central inventory already existed from the first home.
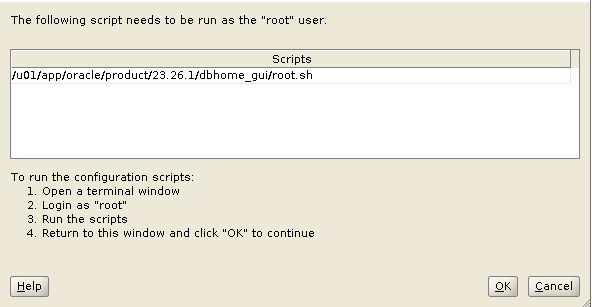
# as root/u01/app/oracle/product/23.26.1/dbhome_gui/root.sh
Enter the full pathname of the local bin directory: [/usr/local/bin]:The contents of "dbhome" have not changed. No need to overwrite.The contents of "oraenv" have not changed. No need to overwrite.The contents of "coraenv" have not changed. No need to overwrite.Entries will be added to the /etc/oratab file as needed byDatabase Configuration Assistant when a database is createdFinished running generic part of root script.Now product-specific root actions will be performed.
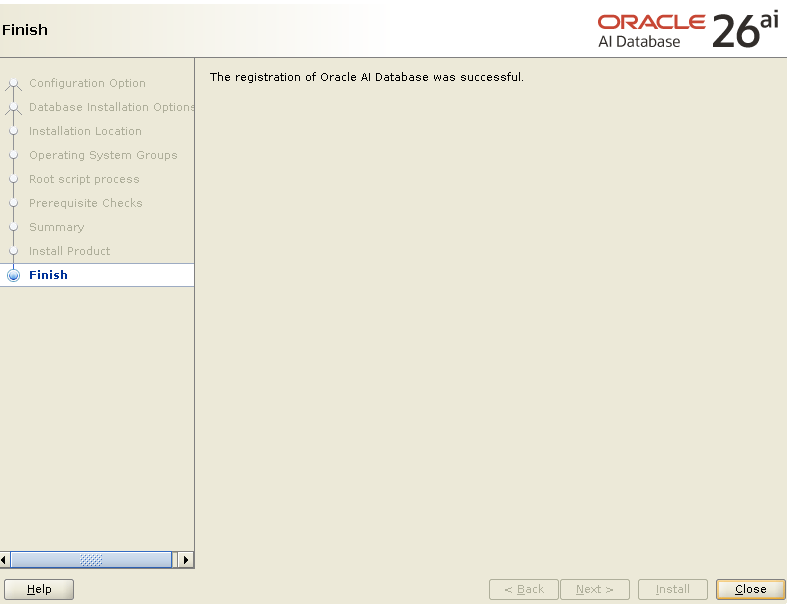
Step 5: Verify, including the existing database
grep -i "HOME NAME" /u01/app/oraInventory/ContentsXML/inventory.xml/u01/app/oracle/product/23.26.1/dbhome_gui/bin/sqlplus -vdgmgrl sys/<password>@CDB26 "show configuration"
<HOME NAME="OraDB23Home1" LOC="/u01/app/oracle/product/26ai/dbhome_1" TYPE="O" IDX="1"/><HOME NAME="OraDB23Home2" LOC="/u01/app/oracle/product/23.26.1/dbhome_gui" TYPE="O" IDX="2"/>SQL*Plus: Release 23.26.1.0.0 - ProductionConfiguration - dg_lab Protection Mode: MaxPerformance Members: CDB26 - Primary database cdb26_sb - Physical standby databaseConfiguration Status:SUCCESS
Two homes in the inventory, the new one at 23.26.1, and the Data Guard configuration untouched.
Notes
- Check
$DISPLAYandxdpyinfobefore running the installer. It saves guessing later. - Give the installer a minute or two over X forwarding. Use
psfrom another session instead of Ctrl+C. - On a VM that already runs a database, choose software only and create databases separately with DBCA.
- Unset
ORACLE_HOME,ORACLE_SIDandTNS_ADMINfrom the existing home before starting. - The swap warning is worth reading, but in a lab it can be ignored when the existing database already runs on the same swap.
ما شاء الله, the VM now has two 26ai homes side by side, ready for DBCA or as a target for future patching tests.

Leave a Reply